DIY Stenciled Floors
If you have boring builder-grade tiles, dated linoleum, or even worn hardwood, you DEFINITELY don’t need to go to the expense and hassle of replacing them… just paint them!
That’s exactly what I did to transform the bland ceramic floor tiles at my One Room Challenge kitchen makeover project! I didn’t have the budget for a complete reno overhaul, and I certainly didn’t have the time given the quick 8 week schedule, so I opted for a cost effective DIY transformation, and honestly… I have to pick my jaw up off the stenciled floors every time I look at them because they turned out better than I was even imagining!
Want to watch a quick video tutorial on how I painted them? Click HERE!
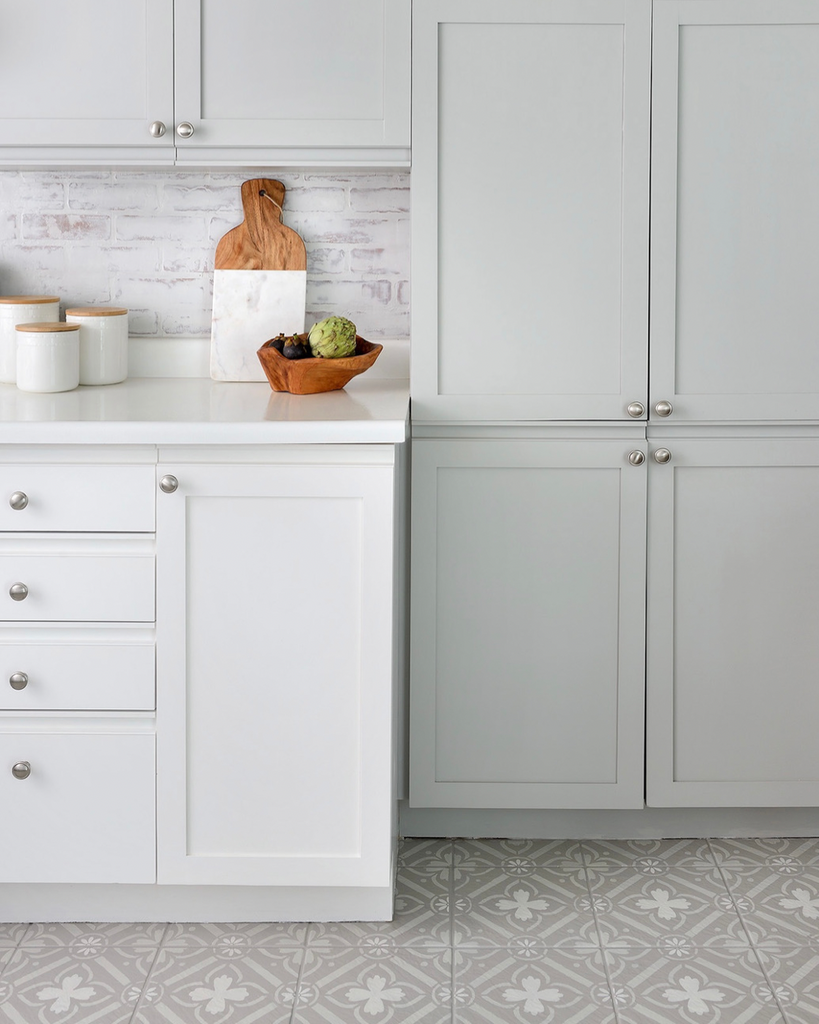
Before

After

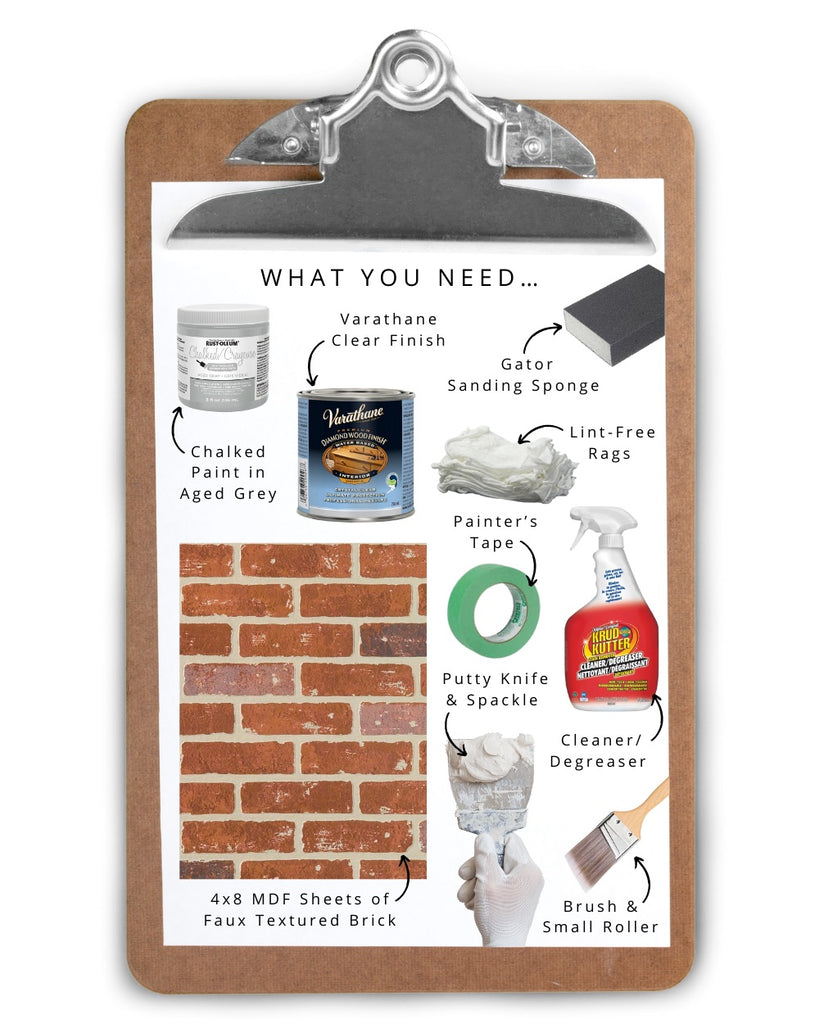
Materials
•Krud Kutter Cleaner | Degreaser
•Reusable stencil (I suggest buying at least 4)
•Broom and vacuum
•Disposable gloves
•Lint-free rags
•Synthetic paint brush
•Roll cage with extension pole
•10mm nap roller
•6mm nap roller
•Low-tack spray adhesive
•Painter’s tape
•Paint tray

How-To Instructions
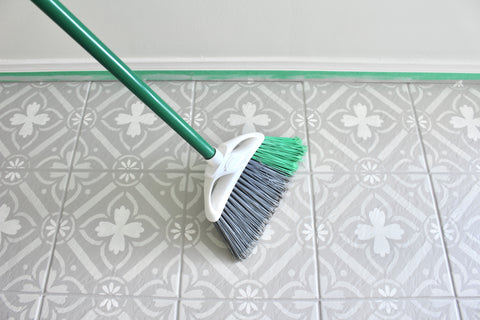
Clean & Prep
It is incredibly important to thoroughly clean the floors and remove any dirt, grease, and debris to ensure the base coat will properly adhere.
Start by sweep or vacuuming.

Next, spray a generous amount of Krud Kutter’s Cleaner / Degreaser and use a scrub brush to clean the surface. Wipe afterwards with a clean towel and be sure to remove any residue.

Once dry, give the surface a final vacuum and then apply painter’s tape to the baseboards and around any base cabinets.


Base Coat
Stir the base coat and pour into a paint tray. I used a colour called “Seattle Mist”

Using a high quality synthetic paint brush, apply the base coat around the perimeter ensuring the grout lines are also covered.

Using a 10mm nap roller on an extension pole, roll into the wet edges to cover the remaining floor surface including grout lines for a seamless look.

Once dry, you can take the optional step of applying a stencil, or proceed with applying a clear protective top coat (…keep scrolling for instructions).
Stenciling
A stencil is a great way to customize the look of your floors with a unique pattern and colour combination. I suggest buying multiple stencils to make the project go faster. I used 4 in total, and after I applied one, I put it aside to dry while I picked up the next. By the time I had rotated through to the first one again, it was ready to use.
Start by applying a coat of low-tack spray adhesive to the back of all stencils which will create crisp paint lines when applying the second base coat colour. I suggest doing this in a well ventilated area, and place the stencil in a cardboard box to avoid overspray of the adhesive on your surrounding area.

Place the stencil tacky-side-down on your first tile, and then load a high-density foam roller with a small amount of paint. I used a colour called “Vanilla Milkshake” to roll over the stencil.

Less paint is best, so keep a stack of paper towels handy to off-load the roller and remove any excess before applying to the stencil. You can always add more paint, but you can’t easily take it away!

Roll on one coat by applying light to medium pressure with the roller.

I decided to add a third base coat colour called “Ultra White”. Using a small foam art sponge, I dabbed the paint on select areas of the stencil pattern to create a subtle tri-colour look. This step is of course optional and of course took a little bit of extra time, but it was SO worth it!

Once the paint is applied to the stencil, remove, set aside to dry, and then repeat with a fresh stencil.

It’s best to apply the stencils in a checkerboard pattern to avoid overlapping wet paint. Then, complete remaining full size tiles and at the end, cut the stencils as needed to fill in the edge tiles around the perimeter. This is also why having multiple stencil comes in handy… you’ll likely need to cut several to different edging sizes.
Top Coat
Once the base coat is dry to walk on, give the surface a light sweep or vacuum with a soft bristle brush to remove any lint or debris.
Stir the Rust-Oleum Home protective top coat, and apply again by brushing the edges and then rolling the surface.

The top coat provides maximum scratch and stain resistance, and is walk-on ready in one day.


Once the coating is fully dry, remove the painter’s tape, and TA DA! Gorgeous refreshed floors!!!

What do you think?


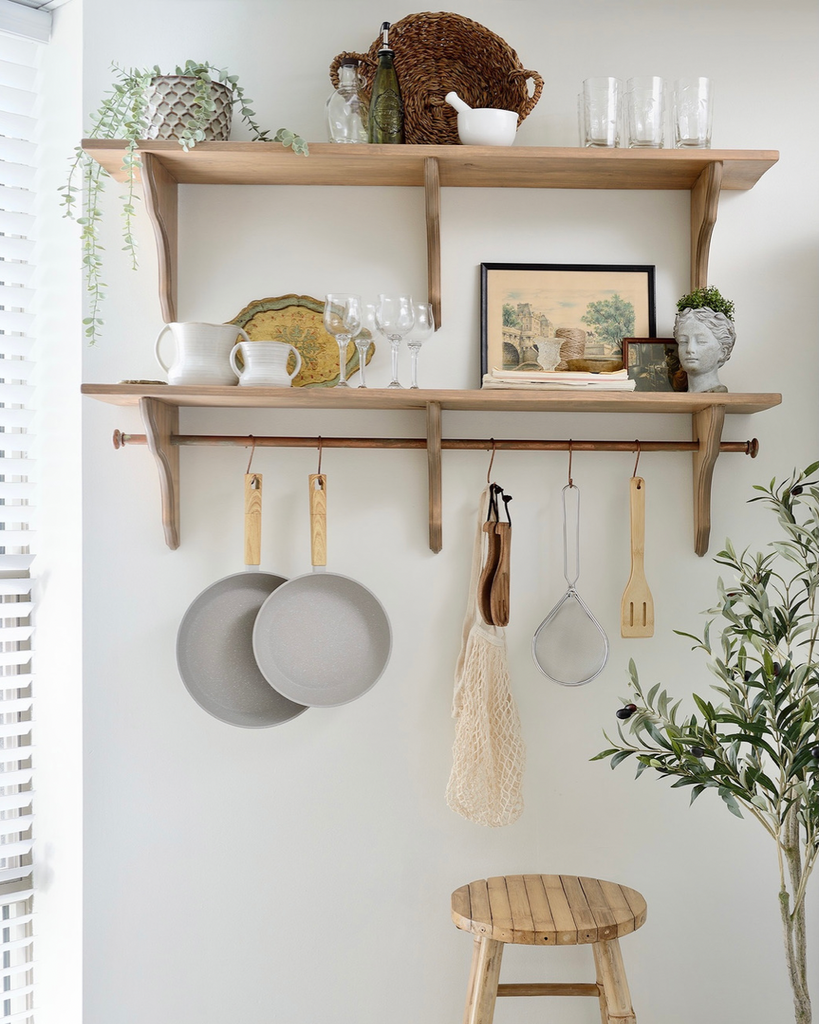
Next week, I’ll be DIY-ing an open shelving storage solution for my “Kitchen Makeover Takeover”… and I have an idea that involves a curtain rod and copper patina paint, so stay tuned!