Faux Brick Backsplash
It looks real… it feels real… but it’s FAUX, FRUGAL, AND FABULOUS!
Since I didn’t have the time or budget to remove the existing 80’s ceramic tile backsplash at my kitchen-makeover-takeover, I opted for a demo-free solution by installing MDF brick panels right overtop!
Watch video tutorial HERE!
Before & After

Materials
- 4x6 MDF faux brick panels
- Jig saw
- Measuring tape
- Krud Kutter Cleaner | Degreaser
- Gator medium/ fine grit sanding sponge
- Disposable gloves
- Lint-free rags
- Spackle compound
- Chalked paint in Aged Grey
- Synthetic paint brush
- 6” roller frame and low-nap roller
- Paint tray
- Painter’s tape
- Varathane Diamond Wood Finish in Satin
- Protective eyewear
- Metal putty knife
- Construction adhesive or an adhesive mounting mat to attach faux brick (depending on existing substrate… read below for more details!)

How-To Instructions
Measure & Cut
•Carefully measure the height and width of the existing backsplash
•Take special note of all electrical outlets as they will need to be cut out accurately as well


•Mark the measurements for your first board on the MDF brick panel

•Using a circular or jig saw and protective glasses, carefully cut the first board

•Be sure to measure all subsequent boards to align with the brick pattern of your first board for a seamless look
NOTE: number each board on the back as you cut them so you know the order for install
•When all the boards have been cut to size, measure, mark and cut out all holes for the electrical outlets
Clean Backsplash Surface
I sprayed a generous amount of Krud Kutter’s Cleaner / Degreaser on the existing backsplash and thoroughly wiped down the surface with a lint-free rag. This is a critical step to ensure the area is free of kitchen grease, oil, and food debris so the panels will adhere well.

Mount Faux Brick Panels
This step will vary depending on your existing backsplash substrate. If you currently have a bare drywall backsplash, you can use construction adhesive and pin nails to attach the boards directly to the walls.
If you have a flat tiled backsplash in good structural condition, you CAN apply the faux brick panels right overtop! I found a product called Mussel Bound that is a super adhesive mat which comes on a roll with approximately 15 sq’ coverage. It’s designed to be installed directly over tile and creates a strong adhesive backing to apply new tile and grout (approx. 7 lbs per sq’) or in my case, the lightweight MDF panels. More info on this product can be found HERE.


Once I applied the mats vertically on the backsplash (as recommended), I simply peeled off the backing, mounted the brick panels right to it, and applied pressure for a few seconds to activate the bond seal. It worked like a CHARM!

“German Schmear” Technique
I wanted to create a textured plaster look on the brick a la “German Schmear” meaning “to spread”. It’s a beautiful mix of trendy and traditional charm, and it was incredibly easy to do!
Start by masking all surrounding areas (ie. cabinets, countertops, walls) with painter’s tape.

I opted to use a spackle compound the avoid the mess of mixing mortar, but because I didn’t want a stark white colour on the finish, I mixed 1 part Chalked Paint in “Aged Grey” to 4 parts spackle.


It created a beautiful warm grey hue that mimicked the colour of traditional mortar, and now my mind is racing with project ideas for other colours to try mixing.

Once mixed well, I simply troweled the compound onto the brick surface with a metal putty knife which was like icing a cake! You can add as much or as little, and have a damp cloth or sponge handy if you want to remove and reveal some of the spackle from the mortar lines on the brick.

When the spackle had thoroughly dried, I gave the surface a light sand using a Gator sanding sponge to remove any rough areas, and then I whipped everything down with a clean lint-free cloth.


Apply Protective Top Coat
An important “DO NOT SKIP” step is to apply a protective top coat over the German Schmear finish. I opted to use Varathane’s Diamond Wood Finish because it dries crystal clear and has a beautifully subtle satin sheen.

I brushed the edges and then rolled the remaining surface, and it’s important to remove the painter’s tape before the clear coat dries.


When complete, apply a bead of caulking around the brick backsplash edges and TA DA! A easy and affordable brick-less brick backsplash in only one day!!

What do you think?
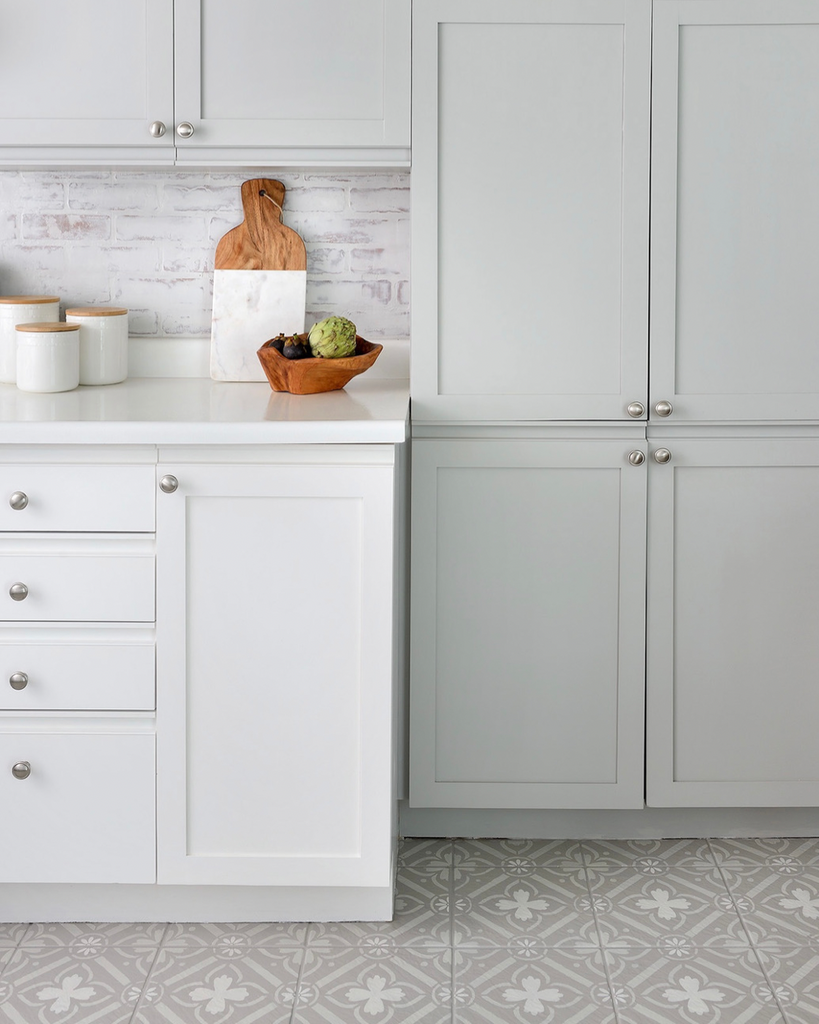
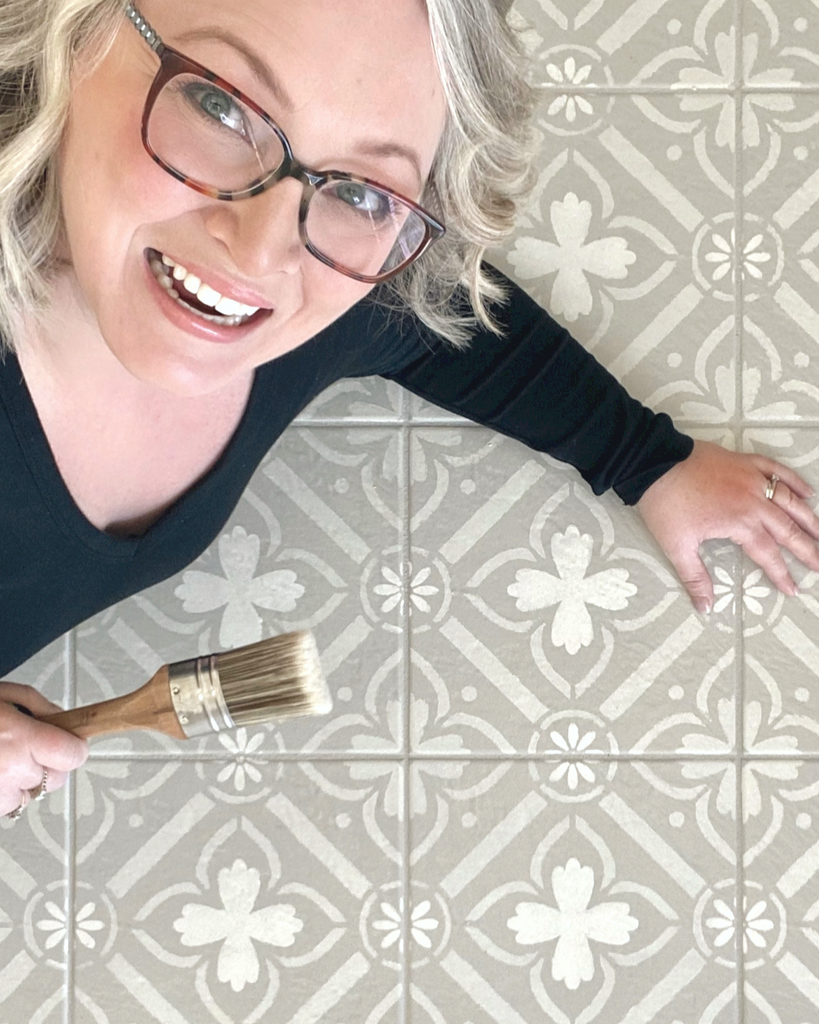
I’m SO excited about next week’s project… I’m PAINTING the tiled floors, so stay tuned for all the DIY details!