DIY Cucina Shelving
STORAGE! It’s one of those things that you can never have enough of, especially in a kitchen! But in my opinion, a GOOD storage solution is equal parts functional and aesthetic… in other words, you can have smart storage that’s also pretty! But when it’s also affordable AND customizable, well, that’s a big bonus… and this simple open shelving DIY project checks all of those boxes!

My goal was to add some open shelving storage for my One Room Challenge kitchen makeover, but I wanted the ability to customize the size and stain, so I decided to make my own. I used inexpensive materials available at my local home improvement store, and flexed a little creative muscle to transform a $4 wood dowel to look like a copper pipe for extra hanging storage…. keep scrolling below to see how, and click HERE to watch a quick video tutorial.
Materials
•8” wide select pine board cut to the length of your choice
•Wood gable brackets
•Gator 120 grit detail sanding sheet and palm sander
•Tack cloth
•Varathane Ultimate Wood Stain in “Flagstone”
•Varathane Triple Thick protective clear coat
•Disposable gloves
•Lint-free rags
•Synthetic paint brush
•Tape measure
•Pencil
•3/4” wood dowel cut to length of pine shelves
•Modern Masters Metal Effects Copper Patina Kit

How-To Instructions
To begin, determine which brackets will be used for the bottom shelf (I used 3 brackets per shelf), and then measure and mark where you want to cut a hole for the dowel to slide through.

Place the first lower bracket on a flat surface with a piece of scrap wood underneath and secure to your workbench with clamps. Using a 1” hole saw and drill, cut a hole through, and then repeat with the remaining lower brackets.


Sand the pine boards and wood bracket to ensure they are smooth by using a palm sander with 120 grit Gator sand paper.


Once sanding is complete, vacuum all surfaces to remove sanding dust, and then wipe with a tack cloth to ensure wood is completely clean.

I used a gorgeous Ultimate Wood Stain colour called “Flagstone” and applied it to the board and brackets by wiping in the direction of the wood grain with a lint-free rag, however the stain can also be applied with a stain brush or staining sponge depending on your preference.


Once the stain is dry, add one coat of Triple Thick in the finish of your choice and apply using a good quality synthetic paint brush in the direction of the wood grain.


While the top coat dries, you can begin work on transforming the wood dowel to look like copper pipe!

Start by applying two coats of primer included in the Copper Patina Kit with a brush.

When the primer has dried, apply the first coat of copper paint from the kit and allow to thoroughly dry. Then, apply the second copper paint coat, and while it is still wet, spray the oxidizing solution from the kit and then sit back and watch the magic happen!


You’ll start to see the beautiful patina form within about 20 min, but allow to dry completely for full results. I used the patina kit to paint some metal “S” hooks as well for hanging storage on the dowel.
WOW!!!!!!!!!!!!

While the dowel dries, assemble the shelf and brackets, install securely on the wall, and finally, slide the “copper pipe” dowel trough the bottom shelf brackets.
Note: I opted to add some wood cabinets knobs on the ends which I also painted with the patina kits.
Finally, it’s time to have fun styling your new modern cucina open shelving storage solution!


What do you think?
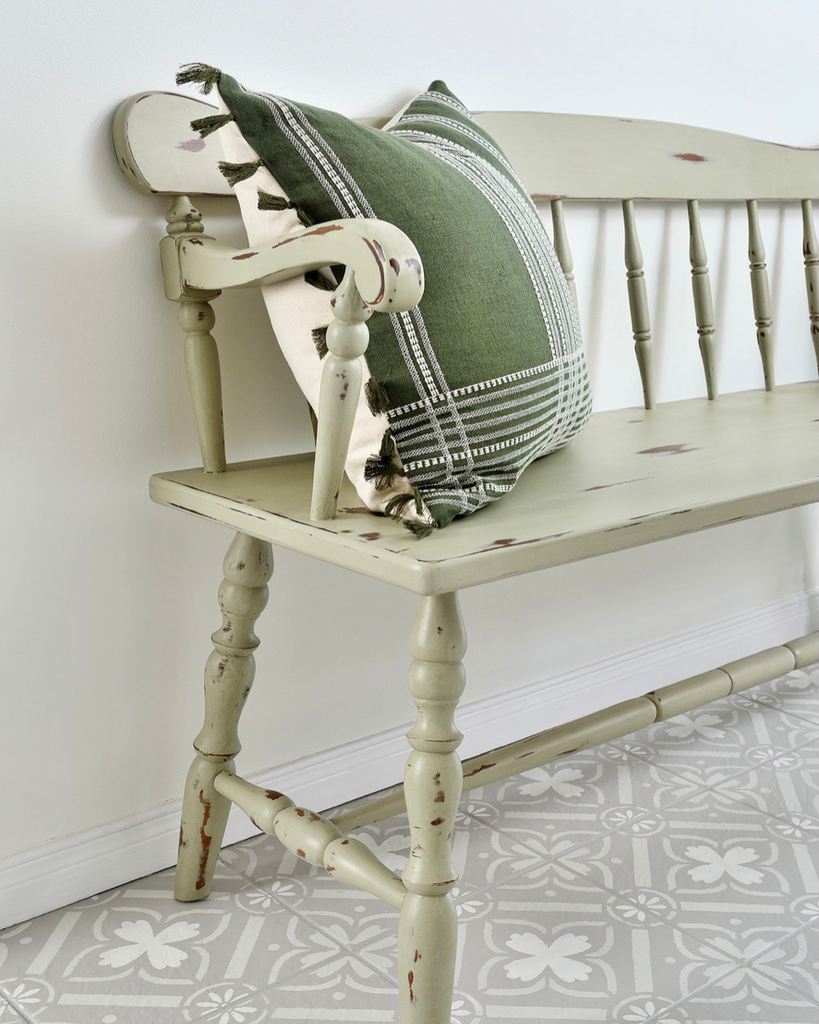
Next week is “kitchen makeover takeover” REVEAL WEEK!!!! But I have one critical project left to complete… a cute little vintage bench is getting a major upcycle update with a brand new Chalked Paint hue called “Tate Green”. Click HERE for a sneak peak of the gorgeous sagely colour, and stay tuned for the DIY reveal!