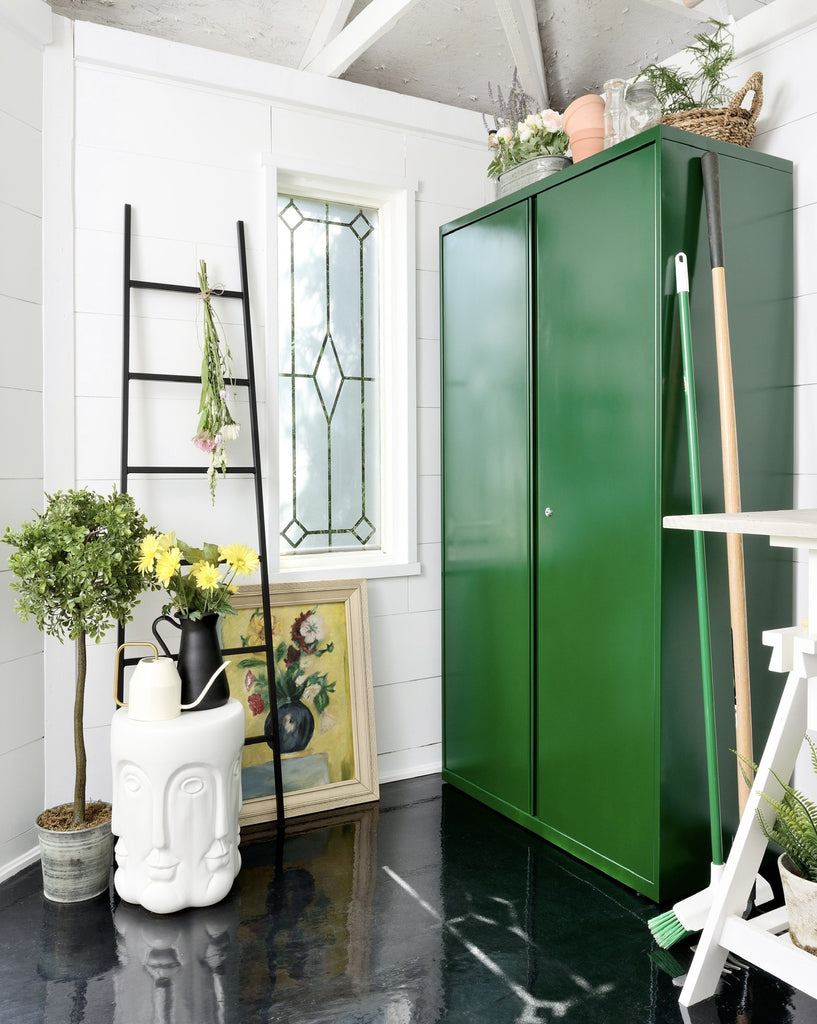
Shed Floor Makeover
From concrete in the garage to plywood in a shed, give the floors in your utility spaces a major upgrade with a DIY-friendly coating that is 20x stronger than epoxy and looks showroom worthy!
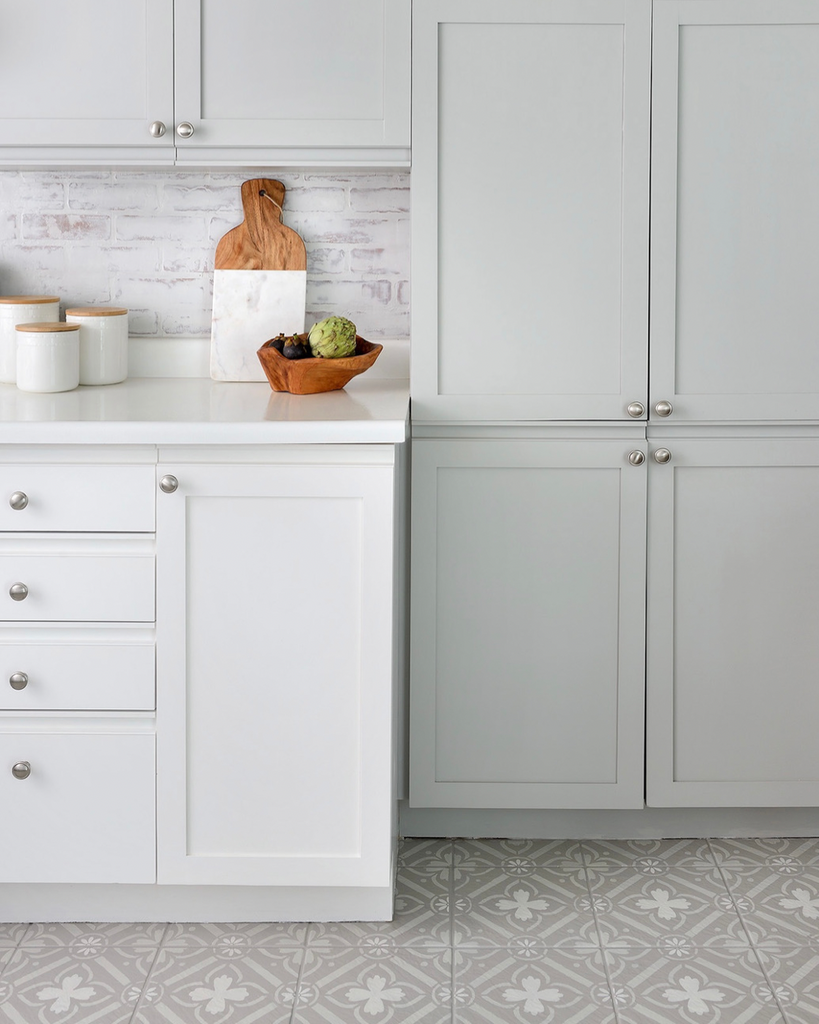
BEFORE + AFTER

These instructions are for application on a plywood floor. Please click HERE for application on concrete surfaces.
Materials
•RockSolid Metallic Kit. Follow directions on box to determine how many kits you require based on your square footage. (The kit comes with a roller, stir stick, optional Mica additive, and complete instructions)
•Krud Kutter Cleaner and Degreaser
•Krud Kutter No-Rinse Prepaint Cleaner
•Varathane Classic Wood Filler
•Rust-Oleum Concrete & Garage Recoat Primer
•Painter’s tape
•Metal taping knife
•Lint-free roller
•Paint tray
•Sandpaper
•Broom and vacuum
•Lint-free cloths
•Roller cage and extension pole
3” wide synthetic paint brush
•Bucket
•Paddle mixer and drill
•All necessary safety equipment (ie. Protective eyewear, mask, latex gloves etc)

How To
•Start by thoroughly sweeping up any debris from the floors and use a shop vac/ vacuum on all surfaces, especially around perimeter and corners
•If there is dirt or grease stains on the floor, apply Krud Kutter Cleaner and Degreaser with a lint-free cloth to thoroughly clean the areas. (Use a scrub brush in difficult areas if needed, but make sure to wipe up any excess dirt as it lifts)
•Once dry, apply a generous amount of Krud Kutter Prepaint Cleaner to the entire surface with a lint-free rag, and then allow to dry completely
•Assess the floors for any nail holes or minor gaps in the wood. Using a metal taping knife, apply Varathane Classic Wood Filler as per instructions to all areas to smooth and level the surface
•Once the wood filler has completely hardened, lightly sand if needed, and then throughly clean up all saw dust with a vacuum
•Prior to painting, apply painters tape on the vertical baseboards or walls around the perimeter to mask off and protect any area that may be hit with a paint roller
•Stir the Rust-Oleum Concrete & Garage Recoat Primer, and then brush the perimeter followed by rolling the entire surface with a roller on extension pole
•Once the primer has thoroughly dried, you’re ready to start mixing the RockSolid coating as per instructions provided in kit
•Mix and shake the blister pack of RockSolid, and then cut open the pouch and pour the contents in to a bucket
•Add in the Mica additive, and using a paddle mixer on a drill, thoroughly mix contents for approximately 3 minutes
•Starting in one corner of the space, pour a 3” wide by 4’ long ribbon of RockSolid approximately 12” away from the wall
•Using a synthetic brush, evenly work the product towards the edge of the wall, and then use a roller on extension pole to spread the product in a 4’x4’ area
•Continue to pour the coating in ribbons and working it around the perimeter and then into the centre of the space, but always try to maintain a wet edge to avoid lap lines
•Once the entire surface is coated, allow to throughly dry as per instruction prior to walking on the surface
WATCH our how-to video HERE!