
Rust-Oleum Home Tile How-to
Give your entryway an entirely new look and feel (without the demo!).

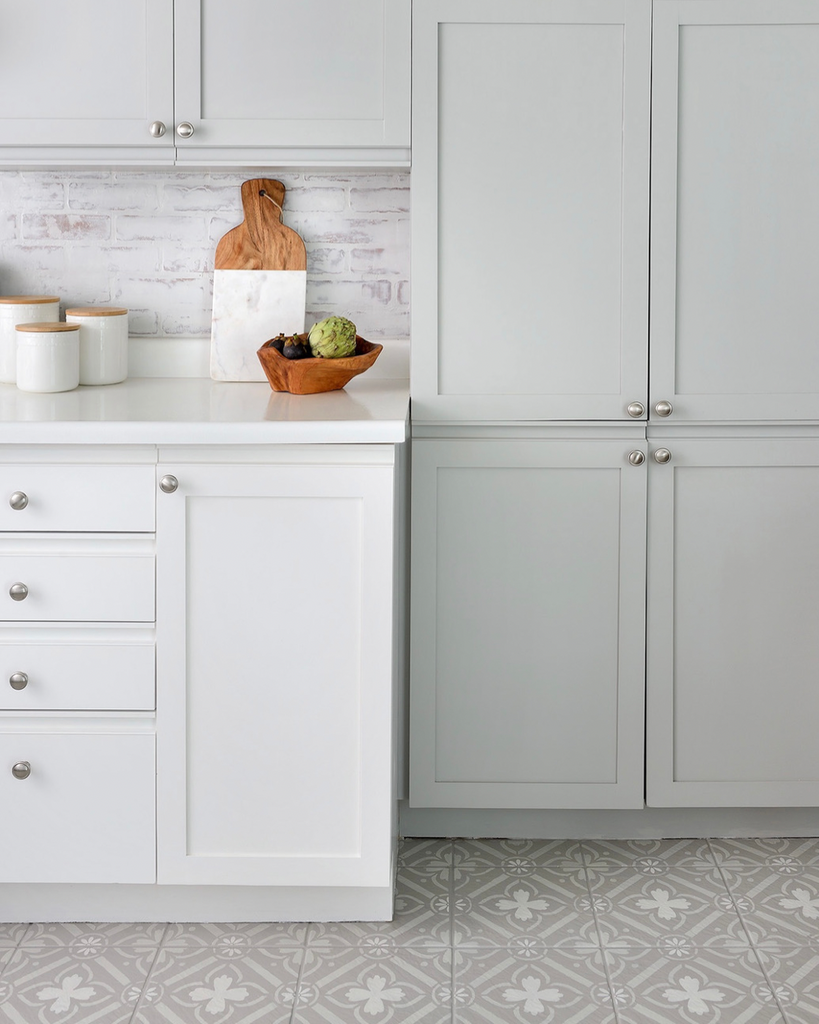
BEFORE

Estimated Time
4-5 Hours
Challenge Level
Intermediate
Tools and Supplies
Rust-Oleum Home Interior Floor Coating - Base Coat
Rust-Oleum Home Interior Floor Coating - Protective Top Coat
Krud Kutter Cleaner/Degreaser
⅜” nap roller
¼”nap roller
2 x 2” angled sash brush
Roller cage and pole
Painter's Tape
Drop Cloth
Protective gloves & eyewear
Lint Free Rag
Steps
- To start, remove any caulking that may be on the floor surface (around baseboards and trim), vacuum the floors to remove any dust and debris, and then scrub all surfaces with Krud Kutter Cleaner/Degreaser and rinse with a damp cloth.
- Allow floors to dry completely, and if there is any residue or haze on the surface, wipe down with a clean and dry lint-free rag
- Apply painter's tape along the baseboards and anywhere on the floor that you want the paint coating to end (i.e. doorways).
- Apply the Rust-Oleum Home Base Coat. Start by thoroughly mixing the base coat with a paint stick and then pour into a lined paint tray. Working in 4’x4’ sections, start in one corner and cut into the perimeter edges with a high-quality angled sash brush.
- While the edges are still wet, use a roller attached to a pole to load the paint from the tray and roll into the wet edges. The base coat is intended to be a one-coat application, so apply generously to ensure grout lines are coated, but do not let it pool or puddle.
- Continue working your way throughout the space by cutting the edges and rolling into each section (without painting yourself into a corner) until the floor surface is completely coated.
- Allow to dry for a minimum of 6 hours, at which time you can walk gently on the surface in sock feet to inspect and determine if touch-ups are required. Let touch-up paint dry for another 1-2 hours before beginning the protective top-coat application. *If you wish to add a stencil pattern to the floors, that step would be next before the top-coat application. Visit Transform your Tile with Stencil for a complete how-to.
- To apply the Rust-Oleum Home Protective Top Coat, use a ¼” nap roller and new high-quality angled sash brush, and repeat the previous steps of cutting the perimeter in 4’x4’ sections and then rolling into the wet edges. The top coat will appear milky during application, but will dry clear.
- Only one coat of top coat is necessary, but because an entryway is typically a high-traffic area, I applied a second coat for additional durability. To apply a second coat, wait until the first coat is dry to touch (1-2 hours) before repeating application steps. You must apply the second top coat within 24 hours of the first.
Before you open your entryway up for visitors, wait 24 hours for light foot traffic and 72 hours before replacing furniture (avoid dragging). For a full cure, you must wait 7 days, and do not wash your floors before 7 days.
Continue reading


Comments
Be the first to comment.